
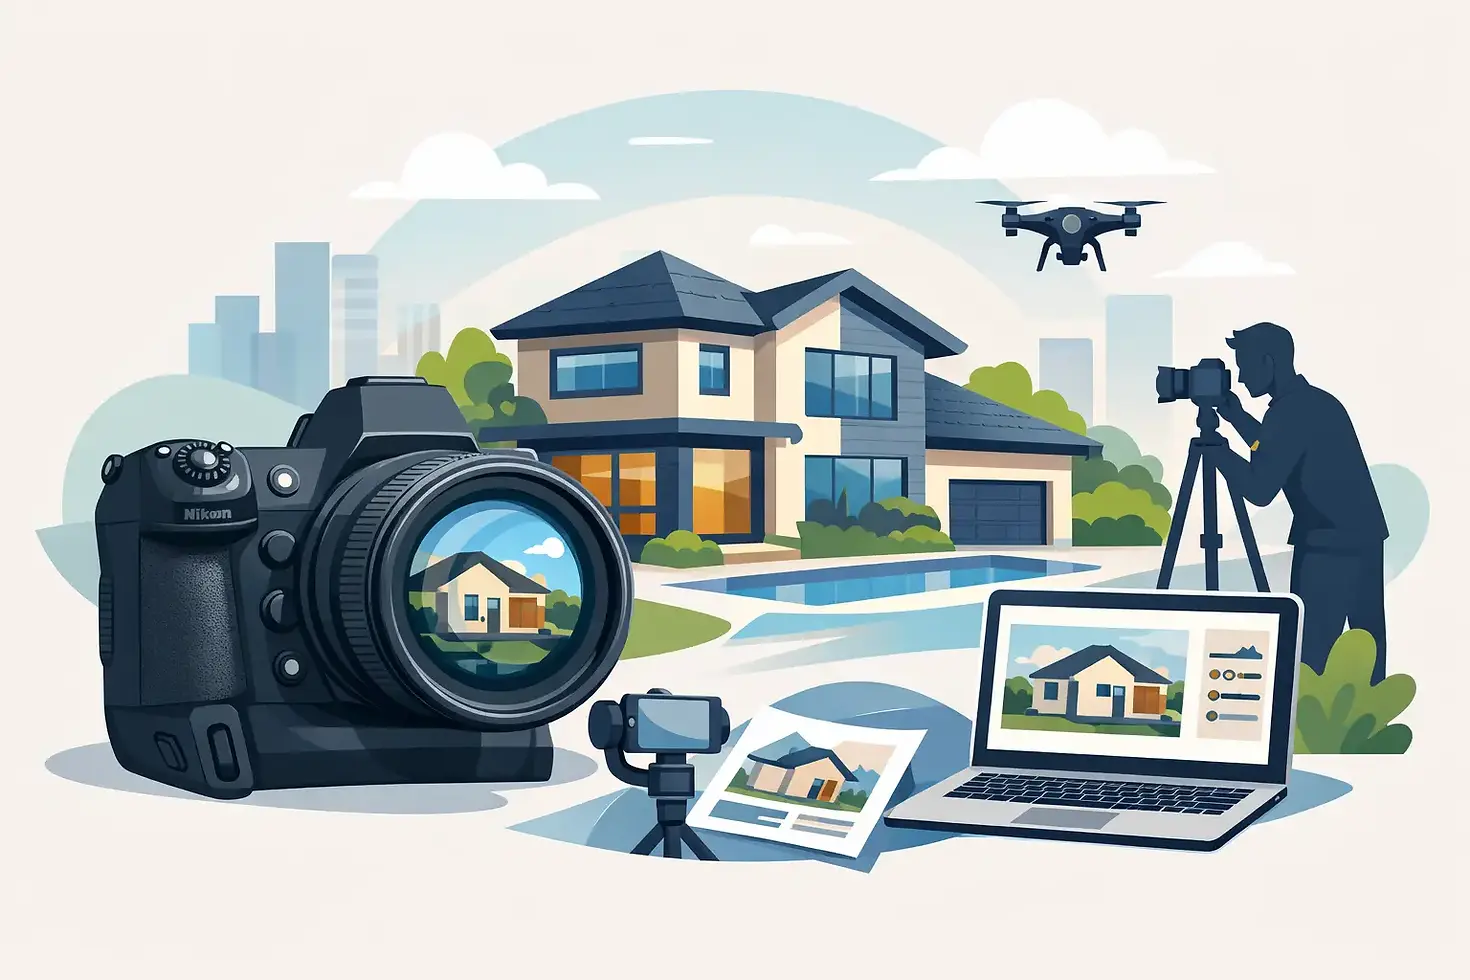
How to Do Real Estate Photography Right

A listing can have a great price, a strong location, and solid upgrades, then still underperform because the photos feel flat. That is why agents keep asking how to do real estate photography in a way that actually drives clicks, showings, and serious buyer interest. The answer is not just owning a good camera. It is knowing how to prepare the property, control light, compose for space, and deliver images that sell the experience of being there.
Real estate photography is marketing photography. That sounds obvious, but it changes how you shoot. The goal is not to create dramatic art for its own sake. The goal is to make a property look accurate, polished, spacious, and worth seeing in person. When that balance is right, the listing gets stronger. When it is off, rooms look smaller, colors look wrong, and buyers start scrolling.
How to do real estate photography with the right mindset
The first mistake many beginners make is treating a property like any other interior shoot. In real estate, consistency matters as much as creativity. Buyers and tenants want to understand layout, flow, natural light, finishes, and condition. Agents want a clean visual package that supports pricing and positioning. That means every image should answer a commercial question: what makes this property worth attention?
A strong set usually includes a clear exterior hero shot, wide interior views of primary rooms, detail images where they add value, and enough visual variety to communicate the home without confusing the viewer. More photos are not always better. If two angles say the same thing, use the stronger one. Tight editing improves the perceived quality of the whole listing.
Start before the camera comes out
If you want to know how to do real estate photography professionally, start with prep. A rushed property creates expensive problems later. Wrinkled bedding, visible cords, crooked barstools, toilet brushes, floor mats, fridge magnets, and overstuffed countertops all pull attention away from the architecture and finishes.
Before shooting, walk the property like a buyer would. Turn on all interior lights unless they create mixed-color issues you cannot control. Open blinds or window coverings strategically based on the direction of light. Straighten furniture, hide trash cans, remove pet items, and check every reflective surface for distractions. In bathrooms and kitchens especially, less is usually more.
This is also the moment to decide what the listing is really selling. In a starter condo, it may be brightness and efficiency. In a luxury residence, it may be scale, finish quality, and indoor-outdoor flow. In a commercial property, it may be usable layout, frontage, or tenant-ready condition. Your shot list should follow that priority.
Gear helps, but technique matters more
You do not need the most expensive kit to produce strong listing photos, but you do need the right categories of gear. A camera with manual control, a wide-angle lens that does not heavily distort the room, a sturdy tripod, and a reliable editing workflow are the baseline.
For most interiors, a full-frame equivalent focal length around 16mm to 24mm works well. Go too wide and the room starts to look warped and misleading. Go too tight and the space feels cramped. The sweet spot depends on room size, but restraint usually wins. If a small bathroom only looks big at an extreme focal length, the image may attract clicks but disappoint in person.
A tripod is not optional if you want clean files and consistent composition. It slows you down in the best way. You frame more carefully, keep vertical lines straighter, and can bracket exposures without introducing blur. That matters because interior scenes often contain bright windows and darker corners in the same shot.
Composition is where good listings separate from average ones
Most real estate photos work best when the camera is positioned at a natural height and kept level. Tilt up or down too much and verticals start leaning, which makes walls and doors look distorted. Clean vertical lines create a more premium, trustworthy look.
In many rooms, corner compositions help show two walls plus depth into the space. But not every room should be shot from the corner. Some spaces read better straight-on, especially kitchens, bathrooms, storefronts, and rooms with strong symmetry. The question is always the same: which angle explains the room fastest and flatters it most honestly?
Watch your edges. Lamps cut in half, chairs barely clipped, and awkward slivers of furniture make a frame feel careless. Small composition errors signal lower production value, even when the camera itself is excellent. It is worth taking an extra ten seconds to clean the frame before every exposure.
Light control is the real skill
If there is one area that defines how to do real estate photography well, it is lighting. Interiors are rarely lit evenly, and window light can either make a room glow or blow out the entire view. There is no single rule that works on every property because weather, window orientation, ceiling height, and interior finishes all change the job.
Natural light is a strong starting point, but relying on it alone can create muddy corners and inconsistent color. Supplementing with controlled flash often produces cleaner, more balanced files. The trade-off is time and skill. Flash can make a space look polished and dimensional when used well. Used poorly, it creates harsh reflections and an artificial feel.
Many professionals blend multiple exposures to keep window detail while preserving natural interior brightness. That approach tends to work especially well in listings where outdoor views add value. Think city skyline, pool area, golf course, or ocean-facing windows. If the exterior matters, protect it in-camera and in post.
Timing matters too. Midday can work for bright, open interiors, but harsh exterior sun may create ugly patches and blown highlights. Twilight exteriors can be powerful for higher-end properties, though they require planning and move fast. For everyday listings, the best schedule is often the one that gives you the cleanest light in the property’s most important rooms.
Room-by-room decisions make the final set stronger
Living rooms should feel open and connected. Show enough of the room to establish scale, but include the architectural features that justify value, whether that is a fireplace, built-ins, ceiling detail, or connection to the patio.
Kitchens deserve extra attention because buyers scrutinize them. Keep verticals clean, make sure appliances are spotless, and choose angles that show both work surface and storage. If the island is the centerpiece, let it lead the frame.
Bedrooms should feel calm, not crowded. You do not need to show every wall if doing so weakens the image. One or two strong frames are often enough.
Bathrooms are difficult because they are small and reflective. Clean mirrors, hidden personal items, and careful camera placement matter more than fancy technique. Accurate lines and color are what make them feel high-end.
For exteriors, start with the front elevation, then capture any meaningful outdoor amenities, approach angles, and context. In dense neighborhoods, context can help. In less attractive surroundings, tighter framing may serve the listing better.
Editing should polish, not mislead
Post-production is where a competent shoot becomes market-ready. This is also where many agents and photographers either save the listing or sabotage it. Overediting creates radioactive grass, glowing windows, strange white balance, and textures that feel fake. Underediting leaves the property dull and forgettable.
The best edits are controlled. Correct verticals, balance exposure, refine color temperature, and remove minor distractions when appropriate. Keep whites neutral, wood tones believable, and skies realistic. Buyers notice when a property looks dramatically different in person, and that gap can hurt trust.
Fast turnaround matters in real estate, but speed should not come at the expense of consistency. A polished, dependable workflow is part of the service, not just an internal process. That is one reason many agents work with a specialist instead of trying to handle every listing themselves.
When DIY works, and when it costs more than it saves
If you are photographing an occasional rental, a simple small listing, or a property that does not justify a larger media budget, a careful DIY approach can absolutely work. But once the property value, competition, or client expectations rise, so does the cost of mediocre visuals.
That is where experience shows up. An experienced real estate media partner moves faster on site, sees issues before they hit the edit, and builds a visual package around marketing goals, not just camera settings. For agents in fast-moving markets like Los Angeles and surrounding areas, that speed and consistency can matter as much as the images themselves.
Haute Site Media approaches this as a marketing function first. The photography has to look sharp, but it also has to support the listing timeline, fit the property type, and make the booking process easy for busy agents and property teams.
If you are learning how to do real estate photography, keep your focus where the business is won: clean prep, honest composition, controlled light, and editing that makes a property look its best without breaking trust. The strongest listing photos do not just show rooms. They make the next showing feel necessary.


Comments