
Creating Stunning Real Estate Photography: A Photography How-To Guide

When it comes to selling properties, eye-catching photos can make all the difference! Stunning real estate photography grabs attention, sparks interest, and helps homes sell faster and for more money. I’m here to share my favorite tips and tricks to help you create jaw-dropping images that showcase every property’s best features. Ready to dive in? Let’s get started!
Mastering the Basics: Your Real Estate Photography How-To Guide
First things first - you need to understand the fundamentals. Great real estate photos don’t happen by accident. They require planning, the right gear, and a keen eye for detail.
Use a wide-angle lens: This helps capture more of the room and makes spaces look larger and more inviting.
Shoot in natural light: Whenever possible, schedule shoots during the day when sunlight floods the rooms. Avoid harsh midday sun that creates strong shadows.
Keep your camera steady: Use a tripod to avoid blurry images and maintain consistent framing.
Set the right exposure: Balance highlights and shadows so no details get lost in bright windows or dark corners.
Here’s a quick checklist to prep before your shoot:
Declutter and stage the space.
Open curtains and blinds.
Turn on all lights.
Adjust furniture for flow and balance.
Double-check your camera settings.
With these basics down, you’re ready to capture photos that truly shine!

Lighting Magic: How to Make Every Room Glow
Lighting can make or break your photos. The right light highlights textures, colors, and architectural details that buyers love.
Shoot during the golden hour: Early morning or late afternoon light is soft and warm, perfect for exterior shots.
Use flash sparingly: Natural light is best, but if you need to brighten a dark room, use off-camera flash or bounce light to avoid harsh shadows.
Balance interior and exterior light: When shooting rooms with windows, expose for the interior but don’t let the outside view become a white blur. Bracketing exposures and blending in post-processing can help.
Remember, every room has its own lighting personality. Kitchens might need bright, even light, while bedrooms benefit from cozy, warm tones. Experiment and adjust your approach for each space!
Composition Tips That Sell Homes
Now that you have the lighting right, let’s talk about composition. How you frame your shots can guide viewers’ eyes and make spaces feel welcoming.
Shoot at eye level: This creates a natural perspective that feels comfortable and relatable.
Use leading lines: Hallways, countertops, and staircases can direct attention deeper into the photo.
Highlight focal points: Fireplaces, unique fixtures, or stunning views should be front and center.
Avoid clutter and distractions: Keep the frame clean and simple to let the property shine.
Try to capture multiple angles of each room - wide shots for context and close-ups for details. This variety helps potential buyers imagine themselves living there.

Editing Like a Pro: Enhancing Your Real Estate Photos
Post-processing is where your photos go from good to great! Editing helps correct imperfections and enhance colors without making images look fake.
Here are my top editing tips:
Adjust brightness and contrast to make images pop.
Correct white balance so colors look natural.
Straighten lines to fix tilted walls or floors.
Remove minor distractions like small spots or reflections.
Enhance details like textures on countertops or wood floors.
Be careful not to overdo it! The goal is to present the property authentically while making it look its absolute best. If you want to dive deeper, check out this real estate photography guide for expert editing workflows.
Pro Tips for Outdoor and Twilight Shots
Don’t forget the exterior! The outside of a property is the first thing buyers see, so it needs to look inviting and well-maintained.
Shoot on clear days with blue skies for vibrant colors.
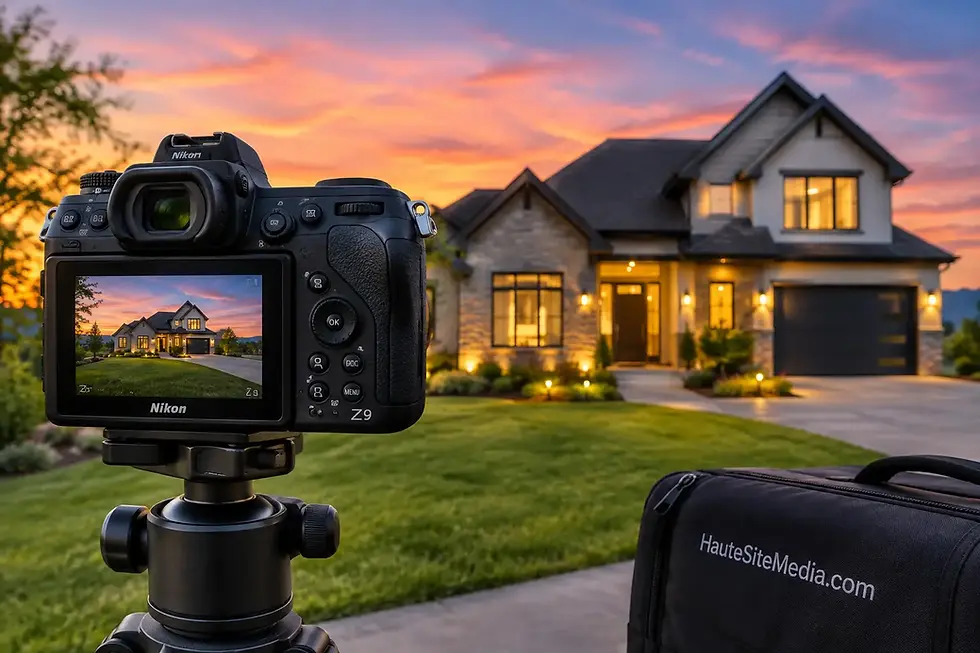
Use a tripod for twilight shots: Capture the warm glow of interior lights against the cool evening sky.
Highlight landscaping and curb appeal: Mow the lawn, trim bushes, and remove any clutter.
Try drone photography for stunning aerial views that show off the property’s location and surroundings.
Outdoor photos can set the mood and create excitement before buyers even step inside.
Bringing It All Together: Your Visual Marketing Edge
Creating stunning real estate photography is a powerful way to boost your marketing game. When you combine great technique, thoughtful composition, and professional editing, you get images that truly sell.
Remember, every property has a story to tell. Your job is to capture that story in a way that connects with buyers instantly. With these tips, you’re well on your way to becoming a visual media pro!
If you want to take your skills even further, consider partnering with a local expert who knows the Southern California and Baja California markets inside and out. Together, you can create visuals that help properties sell faster and for higher commissions.
Happy shooting!


Comments